Finding and collecting earth pigments can be both an exciting and rewarding endeavor. Collecting pigments from the earth can be done causally as you drive through the country or with much planning and preparation to identify and collect specific mineral pigment types. This is the first article in a series on finding, collecting, and preparing your earth pigments.
A few years ago, I stopped along Highway 80 in the Sierra Nevada Mountains of California, about an hour west of Lake Tahoe. Recent road construction had scarred the earth next to the highway, revealing a deep blood-like orange beauty. Not often leaving my car so close to speeding traffic on an interstate highway, I opened the car door with excitement and some trepidation. As if taking my own life in my hands, I grabbed a trowel and bag from the trunk and ventured off the road to scoop up the bright orange soil.
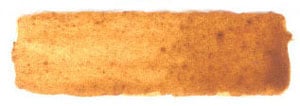
Fig. 1. Brush out in egg tempera of soil gathered off I-80 west of Lake Tahoe, California, USA.
The soil I collected was beautiful in itself. After washing, it produced a transparent golden orange with yellow undertones that was stunning (fig. 1). I used this pigment in the icon painting of the Korsun Mother of God (fig. 2) as the roskrish, or base coat under the linear gold on the Christ child's garment and the bands of the Mother of Gods undergarment. These were good places to use this pigment, and the gold stands out well against this background color.

Fig. 2. Earth colors were used in the base coat of the icon of the Korsun Mother of God, egg tempera on a wood panel by the author.
The following year, I collected soil west of Albany in southwestern Georgia, USA. This time the soil was a rich red-orange, and the pigment it produced could be described as transparent bright orange-red with deep red undertones (Figure 3). I have not yet used this pigment in iconography, but it seems well-suited to floats on garments over darker undercoats. It also might be suitable under linear gold as a substitute for the Mexico Dark I use, a pigment no longer carried by Kremer Pigments. However, this Georgia earth pigment is brighter and has more red than Mexico Dark.

Fig. 3. Brush out in egg tempera of soil gathered west of Albany, Georgia, USA.
Collecting Colored Earths
To begin collecting pigments, you must open your eyes and develop a consciousness of the color of the earth around you. Examine soil in any exposed area not covered by plants or pavement. Once you know the variety of colors in the soils around you, you can begin to find deposits of colors pleasing to you.
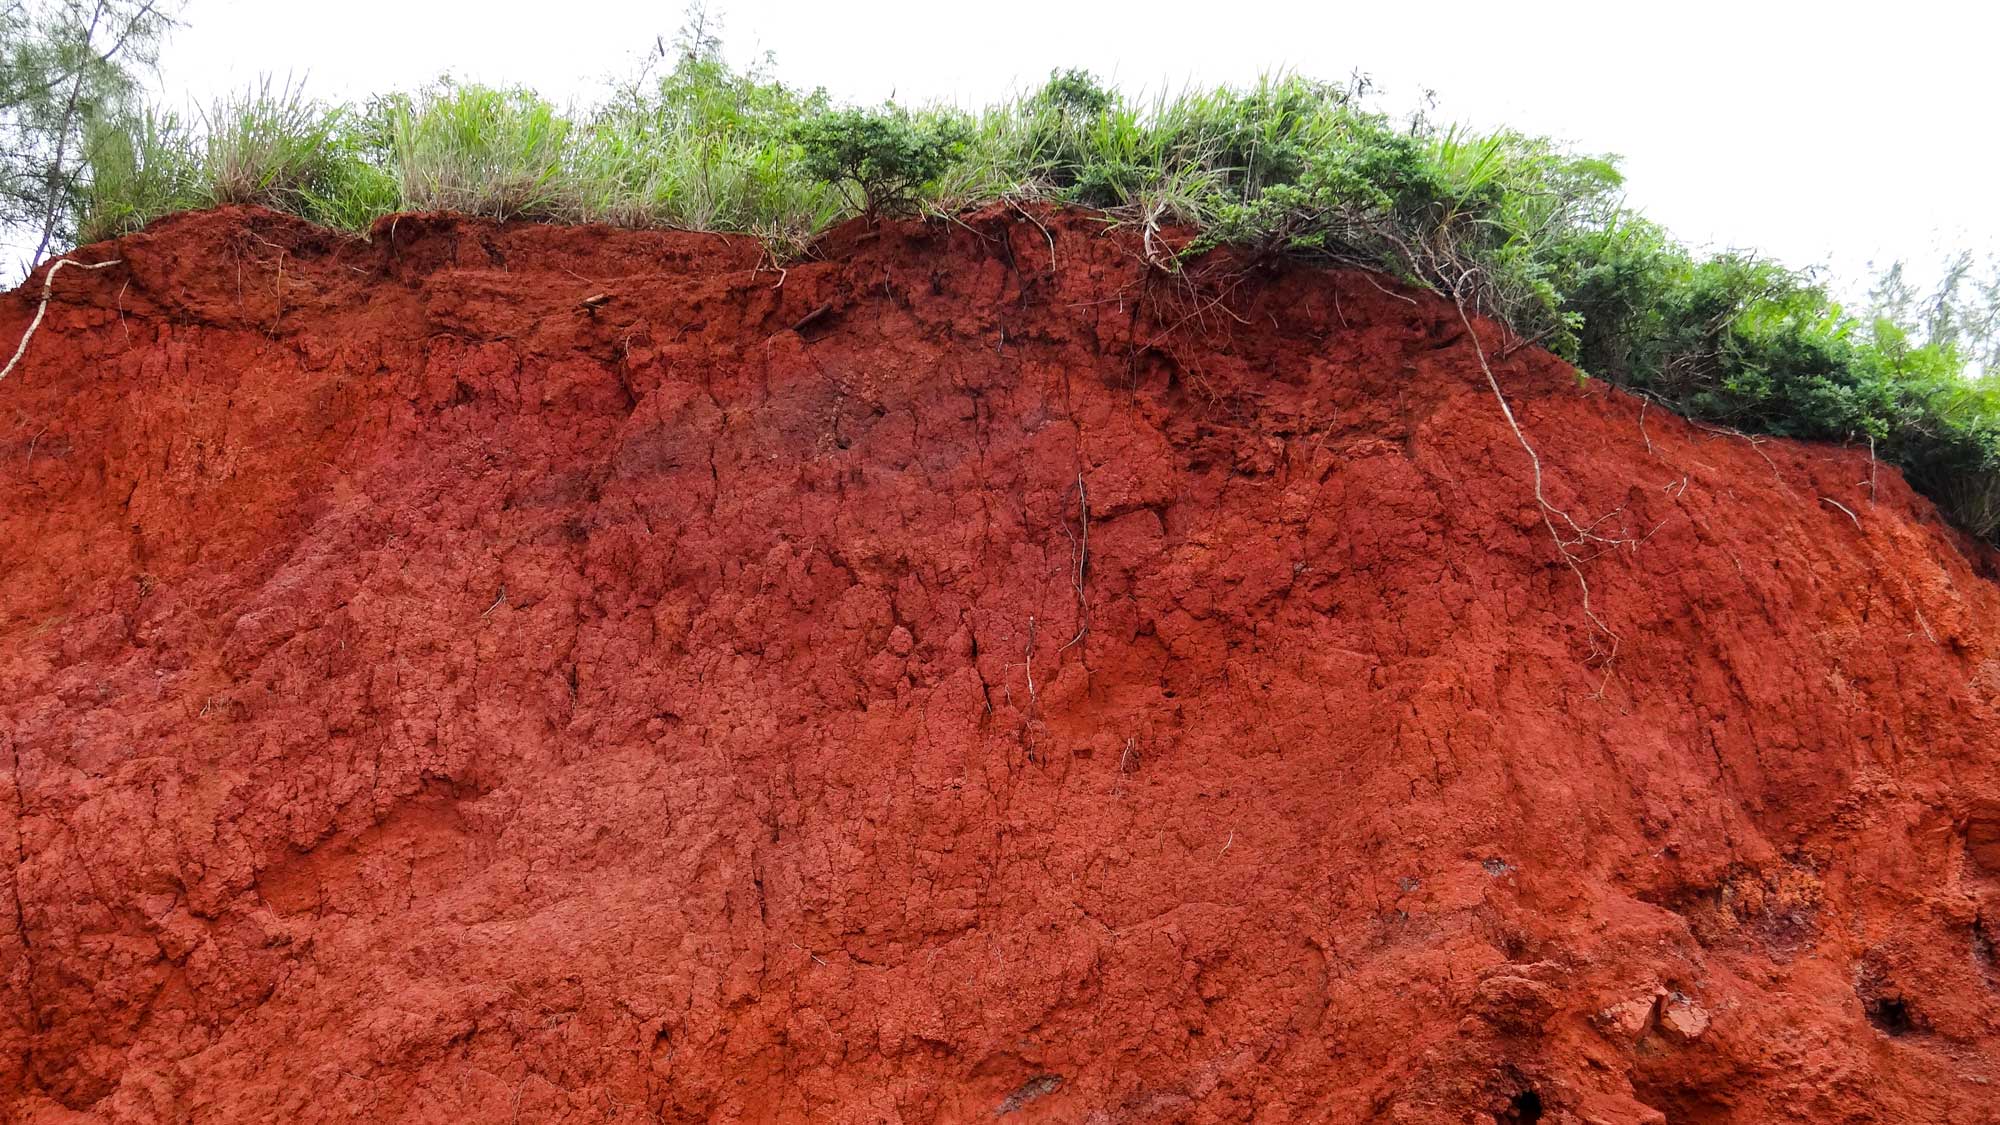
Choose deposits that are free of rocks, sand, and organic material. An open field where plants are cultivated or an area of dense growth is not suitable for collecting pigments from exposed soil. Sandy areas, especially near coasts, are not likely to contain intensely colored soils. Look for good specimens in such places as quarries, road cuts, eroded areas, the banks of rivers, and construction sites where access to colored earths is relatively free from organic matter, and other contaminates.
Once you have located a deposit, collecting samples is quite simple. Always be prepared with a tool for digging, such as a garden trowel or small shovel, and a container to hold the earth so you can unexpectedly find colors. I always carry a trowel and a supply of 1-quart Ziploc plastic bags in the trunk of my car for those moments.
Making Notes of Your Collections
Any artist who collects and uses earth pigments is advised to keep outstanding records. Without suitable records, it is difficult to repeat desirable results and to avoid repeating less desirable ones.
The first thing that should be recorded about native earth pigments is where and when they were collected. The place description should be descriptive enough so that you could return to a site to get more of a pigment. This information might be placed on the label on the container of pigment. Below is an example of how you might set up a notebook for detailed recordkeeping of your pigment-making processes and results. You can use this example to develop your notebook for sample collection and pigment documentation.
| NAME | Auburn Orange Ochre |
| WHERE FOUND | Road cut 45 miles west of Lake Tahoe in the Sierra Nevada Mountains, California, 2 miles east of Auburn, 50 feet from Highway I-80. |
| DATE | September 2000 |
A loose-leaf binder with sheets that can be removed or added easily makes an excellent notebook for data on earth pigments. Below are other notes that should be made to complete your notebook.
Location
- Name of general location, such as highway, road, or park
- Note nearby highway exits, cross streets, towns, or cities.
- Was collected from the side of a road? Name the road or highway and add compass directions like north, south, east, or west.
- Describe conditions at the collection site.
- Was the sample collected from the surface of an exposed area?
- Did you turn the soil to collect the sample?
Date
- Give the date when the soil was collected.
Characteristics
- Is the sample gritty? Clayey? Powdery?
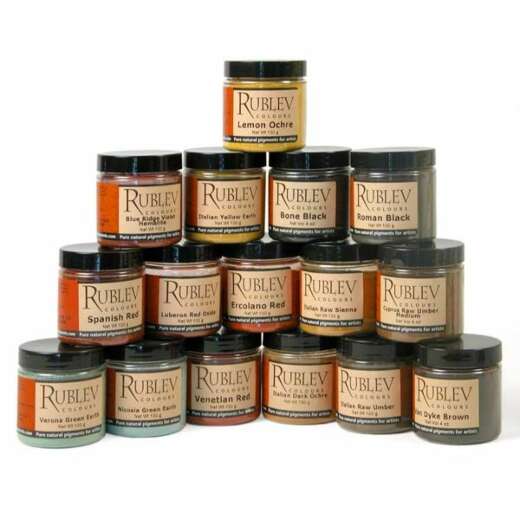
- What is the color of the sample? Compare it with other known pigments or pigments in your collection, such as French Gold Ochre.
Pigment Evaluation
You will also want to include color swatches made from the earth pigment in the paint medium you intend to use. In future articles in this series, we will describe how to make these tests or perform these evaluations.
- Tinting strength
- Hiding power
- Grades: Particle size at various stages in the grinding process
- Lightfastness tests
- Color mixture tests
Process Evaluation
- How was the collected sample prepared?
- Was the sample easy or difficult to prepare?
General Evaluation
- Is this pigment worth the effort?
- Do you want more of this earth color?
- Where will this pigment be useful? (Painters might note what elements of an icon are best suited for this pigment, i.e., mountains, garments, flesh, or whatever part of the icon you think it is suited.)
Identifying Colored Earths
You can identify earth pigments visually. You will be attracted to certain soils because of the intensity of their color. But do not let your perceptions of the soil in its environment mislead you. Red earth may appear to be an intense hue when surrounded by its complimentary green foliage, but back in the studio, it may appear to be lifeless and dull. Color is affected by colors adjacent to it, so evaluate the colored earth immediately by placing a small sample on white paper in indirect sunlight. Wet soil will appear more intense and darker than dry soil. The time and quality of light, such as an overcast day or bright sunlight, will also affect your perception of colors.
Soil that appears intense chromatically may not have the same intensity when ground and mixed in a painting medium. The pigment may also lack the tinting strength and hiding power needed to make it practical for your palette. Soils may contain a high proportion of kaolin, silica, or clay and be quite translucent and weak when mixed with a medium. These substances are usually translucent in an oil medium, whereas, in egg tempera or watercolors, they may be more opaque. Other natural minerals, gypsum, talc, marble dust, alumina hydrate, magnesium carbonate, and barites — all have similar properties and are classified as inert pigments. These materials are added to paints as fillers to extend pigment and, in some cases, add body to paint.
Once you have collected and identified your sample, you are ready to prepare the soil for use as a pigment. The process is quite simple and will be described in the following article of this series.
Written by Nancy Jackson, Timshel Studio, www.timshelstudio.com