How to article on preparing the grinding surface and dispersing pigments to make your water-based paint.
Why hand mull pigments into paint? Two primary reasons for doing so are to break down agglomerates of pigment particles and disperse pigments into the paint evenly. Most artists know the need to mix pigment with a binding medium smoothly. Still, few know how breaking agglomerations of pigment particles can also improve the saturation of the paint color. Fewer still know about the possibilities that grinding pigments afford for altering the visual appearance of pigment in paint.
Dispersing pigments into a paint binder with a muller on a flat surface helps to break down agglomerations or pigment particles clumped together from moisture and other weak binding forces. This helps make the final paint smoother in texture and improves the paint's opacity and color. However, it is a common mistake to think that the force of mulling grinds pigment particles into smaller sizes. Greater mechanical force must be applied to do so. One way to do this is with a mortar and pestle. A pestle directs the entire force to a singular point, whereas a muller applies the same force across its flat bottom surface. In addition, the pressure applied to the concave surface inside a mortar creates greater lateral forces to shear the particles into smaller ones. Grinding in a mortar can reduce the particle size of the pigment and, in some cases, alter its color substantially.
Not all pigments improve in color and appearance by being ground to a very fine powder and mixed with a binding medium. For example, the natural mineral malachite loses its color saturation the finer it is ground. On the other hand, some pigments, like cinnabar and lazurite, improve their chromaticity when grinding to the finest possible particle sizes.
Many synthetic pigments available to artists today are prepared in extremely fine grades since they are made from precipitated chemical compounds. This makes for very uniform and small pigment particles that offer advantages in covering power and tinting strength. However, it also removes the exciting textures and intense chromaticity of natural pigments. At the very least, it does not allow the artist to control the pigment to its best potential in painting. Grinding pigments gives you the tools to overcome this limitation.
Rublev Colours pigments from Natural Pigments are made to careful specifications that do not destroy the pigment's best qualities and allow the artist to refine them for their use through elutriation or grinding. Many Rublev Colours pigments are raw materials that may require further processing by the artist to achieve specific desirable effects. Rublev Colours pigments can be used as they come out of the jar, or you may grind them to smaller particle sizes and separate them into different grades for special visual effects. As you become more aware of these possibilities, you may want to experiment, paying close attention to how the pigments look when mixed with your medium, whether it is oil, egg, acrylic, casein, or gum arabic.
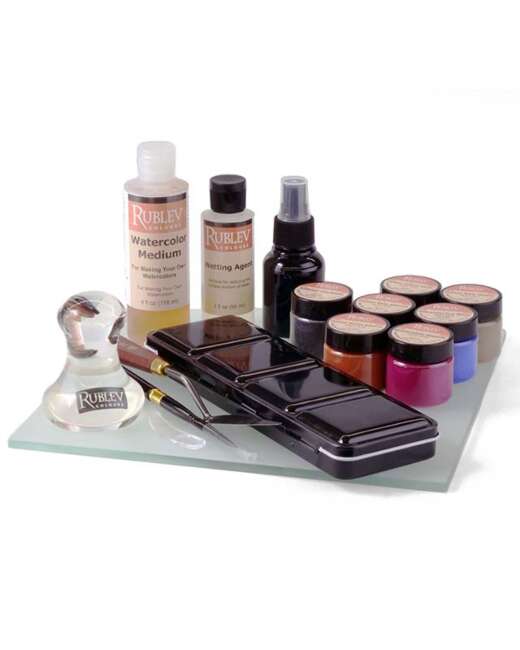
Tools Needed to Make Watercolor Paint
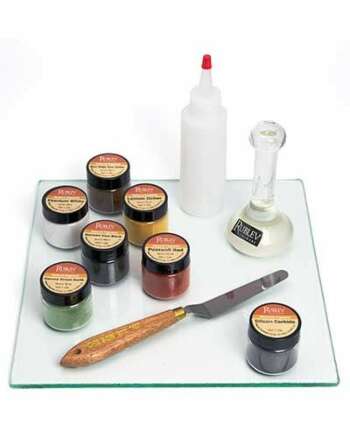
The tools you need to disperse pigments and make paint are pretty simple; most are available locally. For convenience, Natural Pigments has put together an Introductory Paint Making Kit to help you get all the tools and materials you need to get started. Here are the tools you will need to get started:
| Item | Where To Find | |
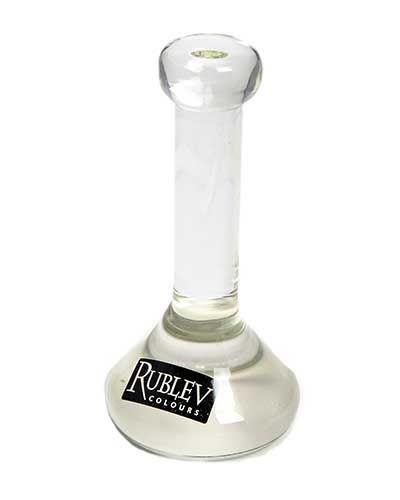 |
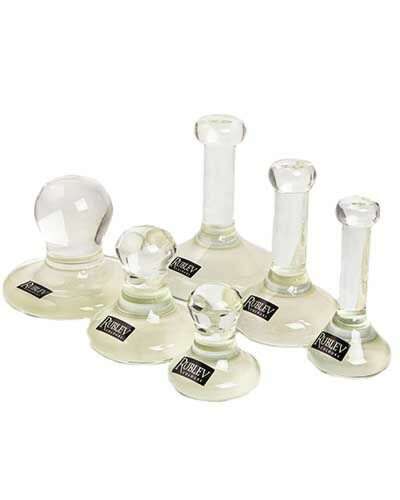
Muller | Glass, stone, or ceramic muller available in small, medium, and large sizes Included in the |
 |
Grinding plate or surface | Plate glass at least one-quarter-inch thick, marble, granite, or other smooth, non-porous flat surface. Included in the |
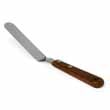 |
Spatula or scraper | Included in the |
 |
Silicon carbide | Also known by its tradename, Carborundum. It is best to use 100 grit to prepare the surface. Included in the |
 |
Distilled water | Supermarkets or food stores |
 |
Gloves | Nitrile or latex gloves, powdered, are best for ease of putting on or removing. Also available from pharmacies, drug stores, and medical supply stores |
 |
Dust mask or half-face respirator | Available from hardware stores |
 |
Eye protection | Available from hardware stores |
CAUTION: Always wear a NIOSH-approved dust mask while grinding or working with any dry earth or pigment. Wear protective clothing and gloves while working with pigments in any form—dry or wet.
Preparing the Surface
The mulling surface must be roughened before it is useable for dispersing pigments. You will need about 15-20 minutes to prepare the surface for dispersing pigments. Here are the steps you should follow to prepare the surface:
Step 1: Place the surface on a firm support such as a countertop or table. If you are using glass as your mulling surface, you may find it helpful to put a white washcloth or a white kitchen towel beneath the glass to stabilize it while grinding.
Step 2:
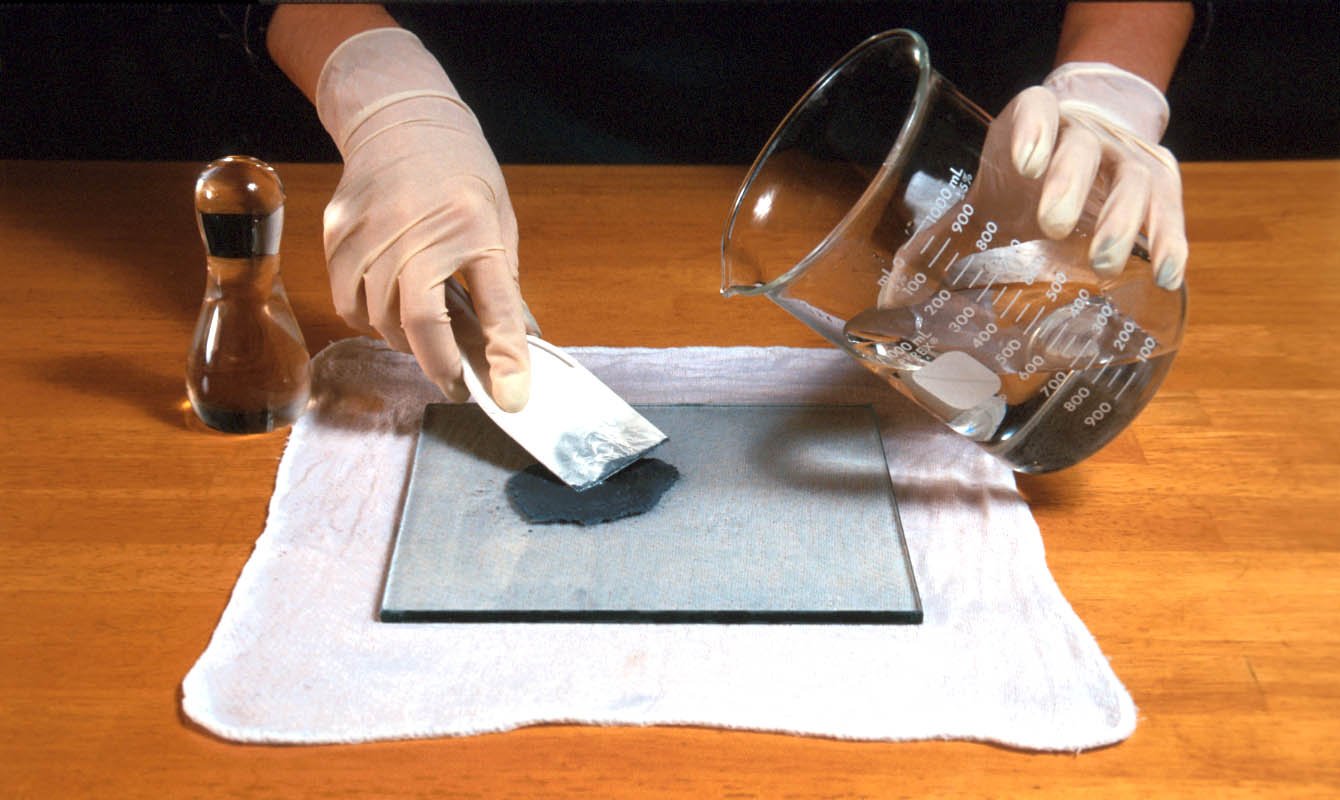
Pour a small amount of silicon carbide onto the surface. About 1/8 of a teaspoon will be acceptable to start with. Apply distilled water to the silicon carbide a drop at a time to make a stiff paste.
Step 3:
Mix the water into the silicon carbide to make a paste the consistency of toothpaste.
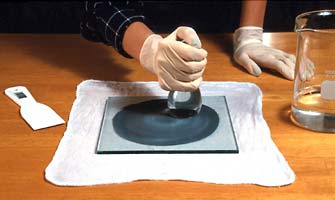
Step 4
Place the muller onto the small pile of silicon carbide paste and move it in a circular motion reaching the edges of the surface. The corners of the mulling surface do not need to be roughened. Continue to grind in this motion for 5 to 10 minutes.
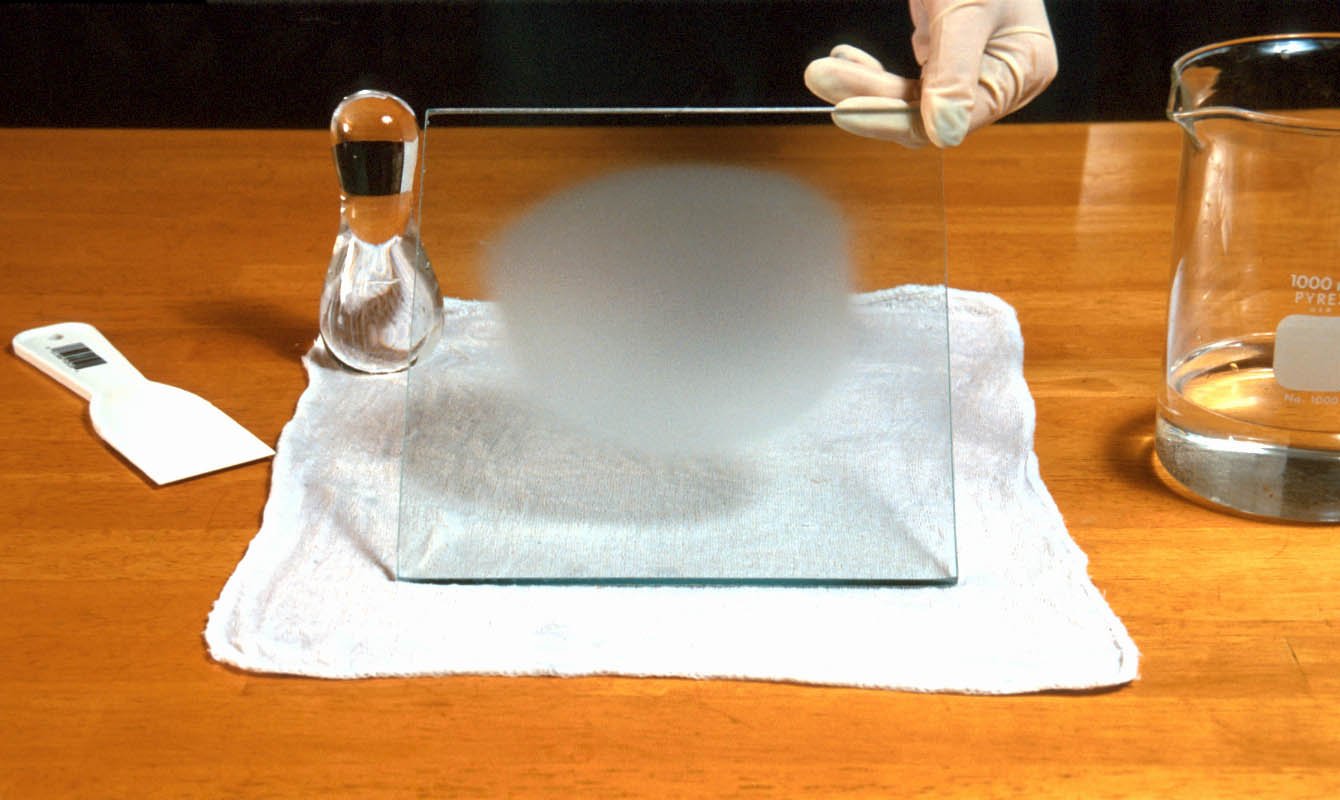
It will be necessary to remove accumulated silicon carbide paste from the sides of the muller using a scraper, palette, or putty knife. Periodically scrape the paste into a small heap at the center of the mulling surface to continue grinding. When you have completed grinding the surface, visually inspect it to see if it has been roughened by holding it up to a light at an angle. If the surface was smooth and shiny, to begin with, you should notice a matte appearance where you have been grinding.
To avoid contaminating your pigments, wash your tools with soap and water.
Dispersing Pigment into Water for Waterborne Paint
Now that the mulling surface has been prepared, you can begin dispersing pigments and making your paint. Let's mull some pigment intended for use with water-based mediums, such as egg yolk (tempera), hide glue (distemper), or gum Arabic (watercolors). Disperse pigment only in distilled water. Tap water may contain a lot of minerals and bacteria that can contaminate your paint.
Step 1
Place a small amount of pigment in a heap at the center of the prepared surface. Start by working with about 10 grams of pigments.
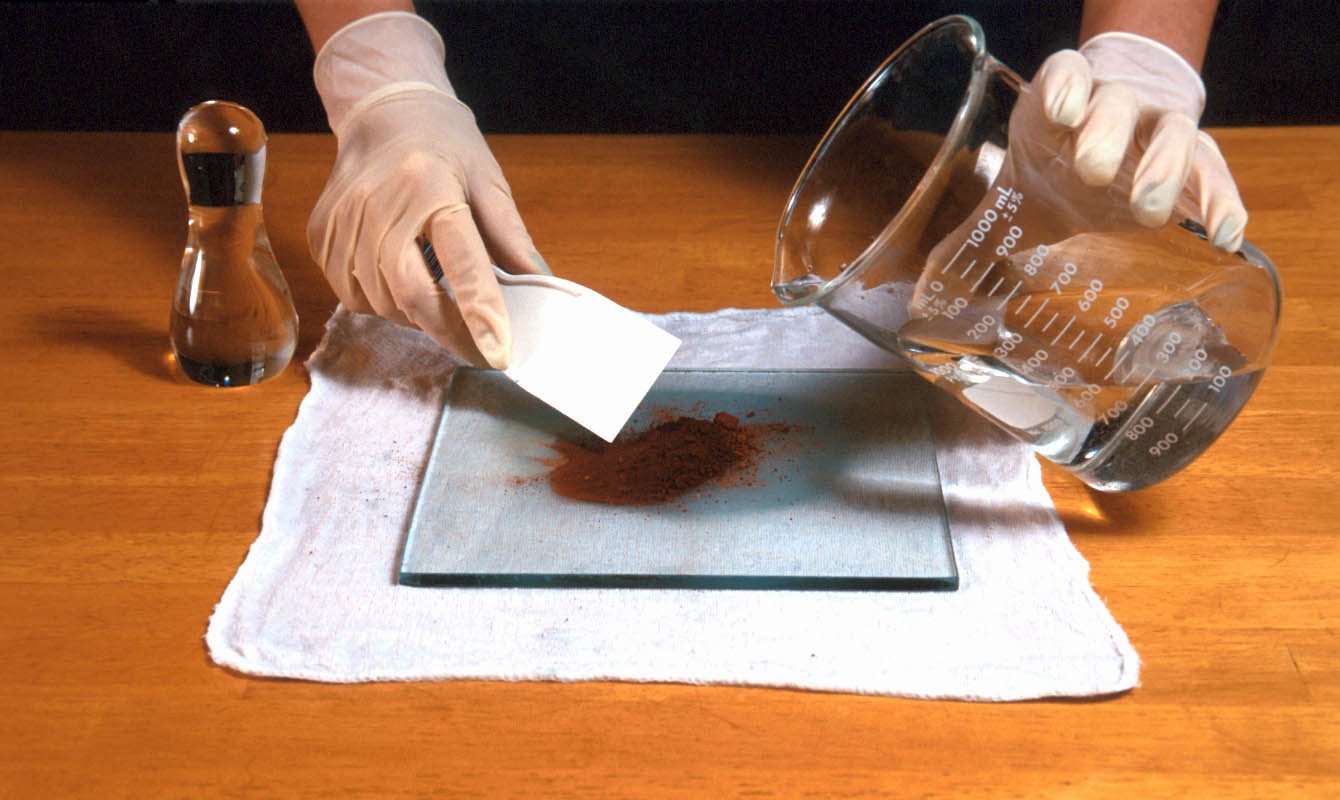
Step 2
Add a small amount of distilled water to the heap of dry pigment, a few drops at a time. Do not add too much water to start.
Step 3
Mix the water into the pigment with a spatula, palette, or putty knife. The correct amount of water is added when the pigment has the consistency of toothpaste. It is easier to judge the thickness of the paste once you begin grinding with the muller. Hence, it is better to begin grinding with a stiff paste than one with excess water.
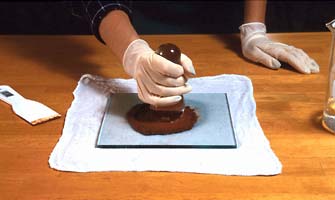
Step 4
Holding the muller firmly with the heel of your hand and thumb up, slowly move the muller in a circular motion while keeping the pigment in the center of the surface. The pigment will slowly accumulate along the outside of the circle. Use the spatula to move the paste to the center of the mulling surface to continue grinding.
If the paste becomes too stiff, add more water, a few drops at a time. Do not worry if suddenly the pigment is thin and watery. Add more dry pigment to the mixture.
Periodically lift the muller from the mulling slab and remove any accumulated pigment from the sides of the muller using a spatula, putty, or palette knife.
Sometimes suction will form between the muller and the mulling surface, making it difficult to move or lift the muller. Use the spatula as a lever to raise the edge of the muller. Then slide the muller horizontally off the mulling surface.
To prevent contaminating your subsequent pigment, clean your tools very well. If you have been grinding with water-based media, wash with warm water and soap. If you are mulling with oil, clean up with turpentine, mineral spirits, or lacquer thinner. Always wash your mulling tools with warm water and soap after cleaning with solvents. You may remove caked-on pigment and paint by mulling with any kitchen scouring powder, borax, or pumice with the muller on the mulling surface. Follow this by washing with soap and warm water.
Paint Making Kits


Complete Courses on Paint Making
Painting Best Practices has online courses on making watercolors, oil paint, and more. Learn more.
References
1 Thompson, Daniel V. The Materials and Techniques of Medieval Painting. Dover Publications, Inc., New York, 1956, ISBN 0-486-20327-1, Page 86.