By Kenneth Freed
As a painter who began working about 43 years ago, I have been fascinated by the techniques of the great masters of painting. In the last 20 years, I have spent much time understanding their approach to painting, materials, and specific practice. I have spent much of my time in a relatively narrow area of study, although I have picked up little bits from the early Flemish painters to nineteenth-century Academy painting. However, my absolute concentration has been on those painters that moved me the most in face-to-face museum confrontations. They are Rubens, Velázquez, Titian, Leonardo and Rembrandt. Their technique seems to be shrouded in a great mystery, and while artists and educators have written about them over the last several hundred years, much of it is contradictory. There are a few exceptions, and the book published by Virgil Elliott entitled Traditional Oil Painting is a significant advance forward compared to most of what has been previously written on the subject. Ernest van de Wetering’s book, Rembrandt: The Painter at Work, provides some keys to understanding his materials and working techniques early and late in his career. There is also an excellent publication entitled Art in the Making, Rembrandt, published by the National Gallery of London, that gives considerable insight into Rembrandt’s technique.
Mostly, I have not been satisfied with Rubens’ painting technique in literature. I have found most of what has been written on the subject inadequate. I am much more interested in Rubens’ panel paintings than his canvas paintings. One reason is that his panel paintings are typically attributed entirely to his hand, unlike the apprentice-assisted paintings on canvas. The second reason may seem more imprecise, but his panel paintings have what I like to call an “air flowing through them.” They possess an excellent combination of translucent passages over imprimatura[1] and underpaintings as well as impasto passages of opaque paint. This translucent relief from complete opacity turns his panel paintings into a brilliant parlor game in which you never really know where the translucent passages will occur. The imprimatura weaves through the painting, making them stand out from so much heavy opaque painting around them. The third reason for studying Rubens’ panel paintings is that they are superbly preserved so that the technique is not only exquisitely beautiful but also comprehensible. Another important reason for my fascination with his technique is that it was very fast. He could get what he wanted in record time. The written accounts about the speed of his production are almost unbelievable today. The story of his copying all of Titian’s paintings into the King of Spain’s collection within a few months seems impossible to most contemporary painters. Yet, it does not appear that he sacrificed any quality for speed.
My study of his work over the years has led me to major museums worldwide, as well as an ongoing study of his oil sketches and panel paintings in books containing his reproductions and a more recent study of his work through the Internet. I believe that the key to his painting technique can be found in the modelli[2] for his significant works. Here, his panel painting technique is revealed to those who wish to understand.
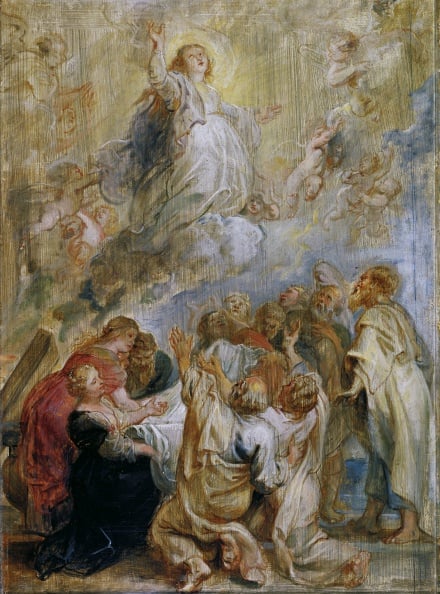
The Assumption of the Virgin, 1637, Peter Paul Rubens, modello, Liechtenstein Museum.
The other more practical study has been the actual reproduction of work in which I have experimented with technique and materials to understand better how he made such beautiful works on a panel. In his book on Rembrandt, van de Wetering shows a relationship between Rubens’ painting technique and how Rembrandt began his paintings during the early phase of his career. From this and my reproductions. I believe that Rubens’ technique would have helped produce Vermeer’s paintings if he chose to use this exact procedure. A different kind of over painting would help give a Vermeer picture its characteristic look, and Rubens’ underpainting technique would help start the picture. Other artists, such as Adriaen Brouwer, the Baroque Flemish painter, used Rubens’ technique with some variation. I have little doubt that Rubens’ technique grew out and expanded from earlier Flemish methods.
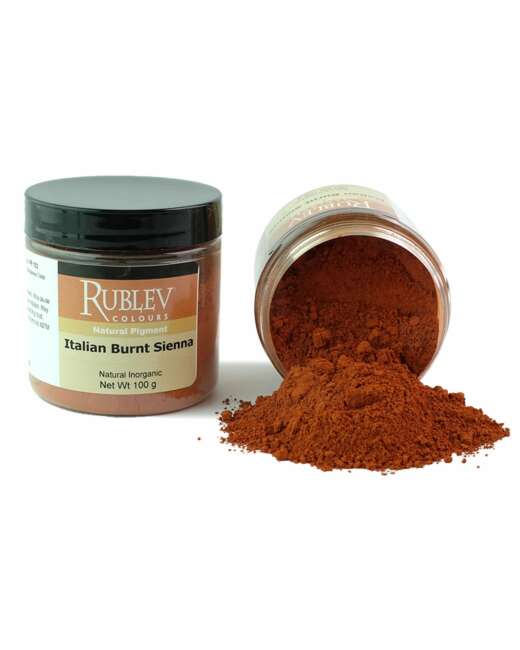
In my earlier days of tinkering, I tried to reproduce the technique of Ruben with pure oil painting. This was a disaster, and despite many different attempts, I could never really get Rubens’ effects that are so clear in his modello paintings. I later decided I could do better by separating the underpainting colors and applying them one at a time. His underpainting colors are simple —an imprimatura with an earth pigment between yellow ochre and raw Sienna. Sometimes he used a gray imprimatura. This was streaked on the ground in a pattern, sometimes horizontally, sometimes diagonally from the top right corner to the bottom left corner, and sometimes vertically. Then his underpainting colors were slightly darker, composed of raw Sienna, burnt Sienna, burnt umber, and black. Occasionally, I have made the last color white to set the stage for the mass tone. My feeling now is that Rubens did not use white in the underpainting.
To control the effect, I decided to make the underpainting in oil one color at a time. It became apparent that Rubens did not do this because he was so fast and efficient; he would never wait for each underpainting color to dry before proceeding to the next. Knowing this, I found that this method produced a fine underpainting on which to begin painting. I used this approach for many years because it produced very useful underpaintings. During this time, I also used oil grounds that helped keep a high saturation level with very little oil or medium penetration into the ground.
I began experimenting several years ago with grounds for panels. I returned to the traditional chalk ground suitable for egg tempera. I began producing half-oil grounds in which oil is used in a specific ratio to the traditional chalk ground. At the time, it occurred to me that Rubens, a very practical man, would not mix two different types of grounds—one for panel and one for canvas. A true chalk ground, of course, could not be used for canvas due to the mechanical and hydraulic stresses that would crack the brittle chalk ground. So I thought, being practical, he would use a half-oil ground for both. I now believe it does not matter much because both grounds are eminently suitable for his technique.

Burnt umber application of the underpainting.

Completed underpainting before the painting white.

Underpainting with white.

Face unfinished.

Reclining Nude in Purple, 2008, Kenneth Freed, oil on panel.
The real breakthrough came one morning when I looked through a book of Rubens’ modello paintings for what seemed to be the millionth time. I realized then that his underpaintings were not oil. They must have been water-borne paint. He had the ground for it — half-oil or pure chalk. Why not? I realized through experimentation that the vehicle for the water-borne paint was glue (distemper). I tried using egg tempera but could not obtain the same brush marks and effects seen in his modello paintings. Therefore, I went out and bought a warming tray, used alum as a hardener for the glue, and began working on chalk ground. An important part of this technique is that the glue must be of the proper strength. If it is too strong, the paint will ball up. On the other hand, if too weak, the pigment will not bind sufficiently and chalk off the panel. Once the proper strength of paint was achieved, I made my streaked yellow ochre and raw Sienna imprimatura.
When this dried, I recalled the stories about how Rubens would begin a painting by drawing contours with a brush.[3] I rejected this idea because it seemed unnecessary. Instead, you could use a red Conté crayon, which the paint somewhat dissolves, and what the paint contours do not melt away could be wiped off. No traces of his drawing appear in his work. This appears to be a more practical method at the beginning than painting contours on the picture entirely out of your head.

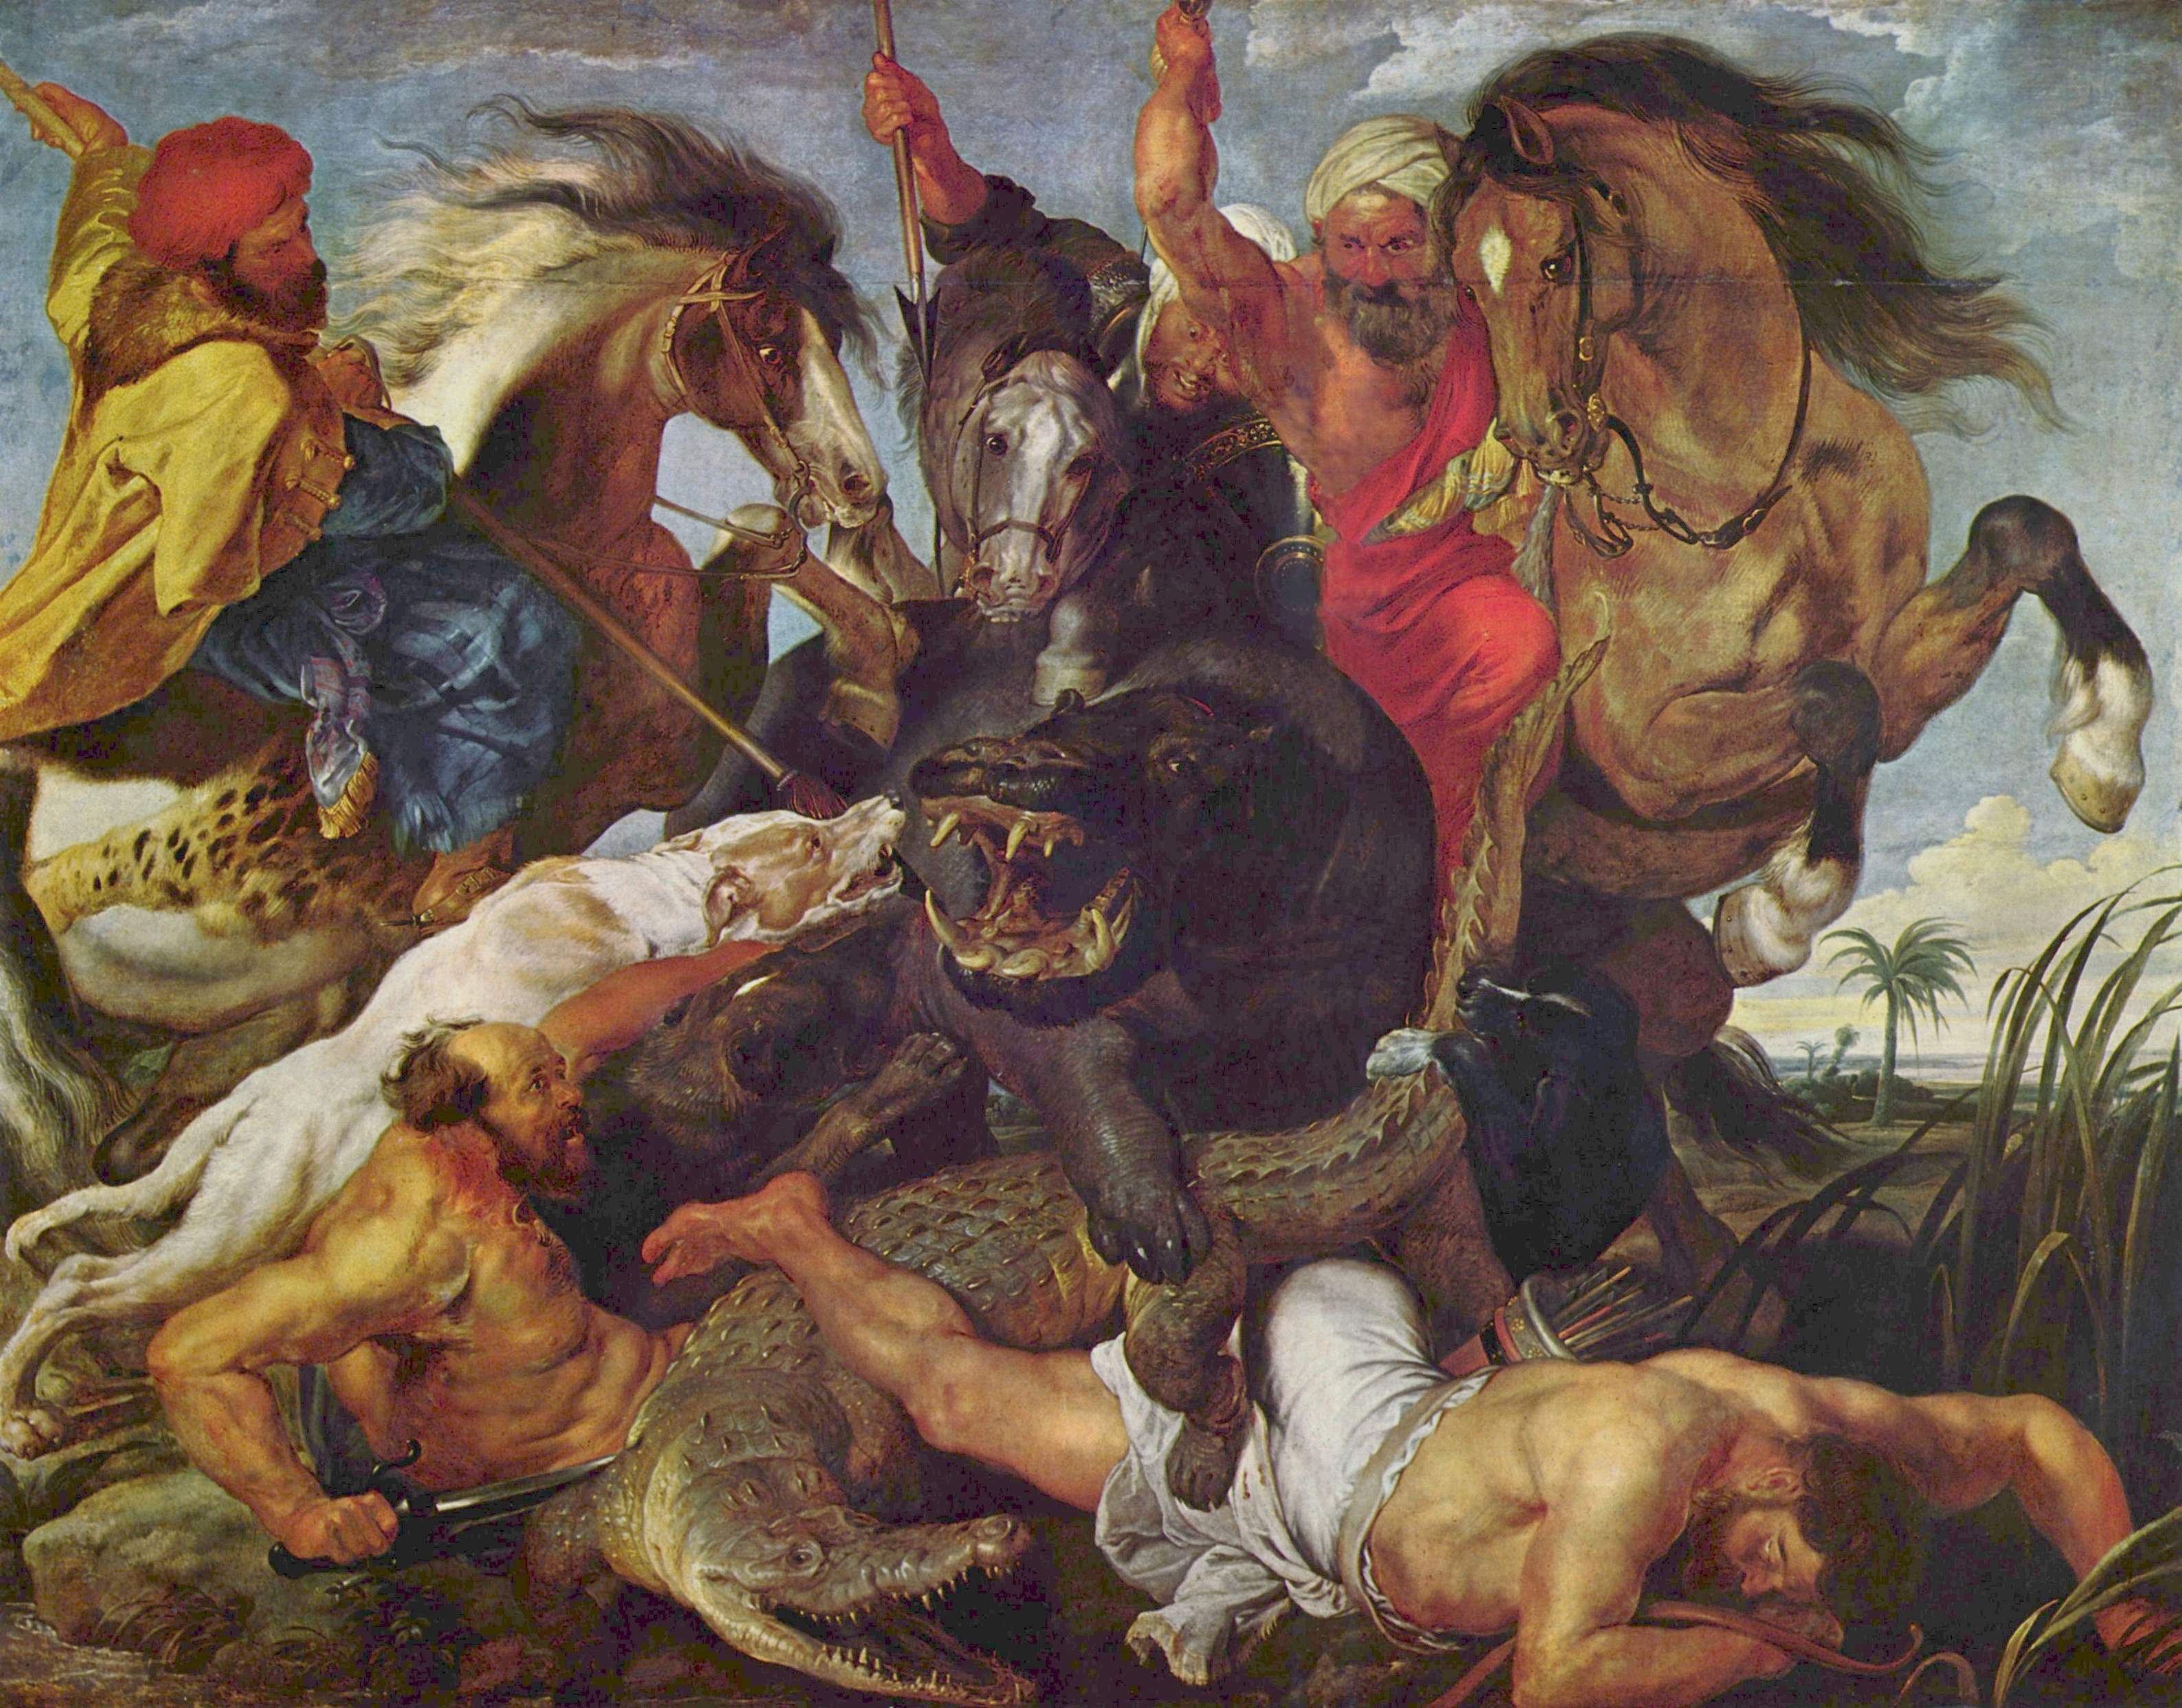
Samson and Delilah, c. 1609–10, Peter Paul Rubens (1577–1640), oil on wood, 185 x 205 cm, National Gallery, London.
Therefore, I began painting contours and shadow areas with burnt Sienna, then deepening shadows with burnt umber and a few accents with black, all in succession. The underpainting took about three hours to become fully realized. The combination of yellow ochre and burnt Sienna created a wonderful orange that you find in many of Rubens’ paintings. Look at it in Rubens’ painting of Samson and Delilah, in which the distemper paint is exposed in several sections precisely as it was in the underpainting. The result of the underpainting is free, loose, and contains beautiful color and texture, particularly in the shadow group, which includes the edges of shadows, shadow, and reflected light. This is where the underpainting is most likely to show itself.
The next problem became a philosophical one. Where and how do sections in the shadow group exhibit themselves in the final painting? The reflected light must be separated from the shadow group, frequently either the orange of the burnt Sienna and the imprimatura or the brown-orange of the streaked burnt umber over the burnt Sienna and imprimatura. This is part of the philosophy of Rubens’ technique. If he wanted that wonderful glow of reflected light using vermilion, he made an adjacent cloth of red. It was an easier painting job if the reflected light area had strong adjacent color. Sometimes there were no intense colors, and he had to separate the reflected light area from the shadow, so he left the underlayer with burnt umber or burnt umber and black. It is exciting to see where Rubens allows the underpainting to come through.

Completed underpainting of In the Shadow of Leonardo III.

Finished painting of In the Shadow of Leonardo III, 2008, Kenneth Freed, oil on panel.
When you get to the underpainting stage, the subject of painting mediums raises its ugly head. I spent many years researching and trying nearly every medium component ever used, including countless oils, balsams, resins, and solvents. After the decision to do the underpainting with a water-borne vehicle, an immediate issue was, what isolating varnish should I use? You do not want too much absorbency in the ground because it will suck all the juices out of your paint. Some tooth and porosity are desirable. You don’t want to paint on a Plexiglas-like sheet without any absorbency. Of course, it would be a stretch to come up with the exact thing that Rubens used as an isolating varnish over his ground. I am not sure it is necessary because I have been a strong believer for many years in the superiority of alkyd over natural resins. Therefore, I put a coat of alkyd medium as the isolating varnish and was pleasantly surprised that it seemed to give the ideal amount of tooth.
 |
 |
Portrait of Gregory, completed painting (left) and detail (right), Kenneth Freed.
That accomplished, we return to mediums to figure out what medium could produce all those wonderful effects we find in Rubens’ paintings. I tried “Rubens’ medium” from Maroger’s book, The Secret Formulas and Techniques of the Masters, which worked to some degree but became too tacky on this ground. Then I tried Maroger medium with a bit of heat-bodied linseed oil. It was better but not the same. In later paintings, I used heat-bodied linseed oil and Venice turpentine in equal proportions added to my paint. This combination made the ropey paint that appears in Rubens’ highlights. Later, I found something better. After a discussion with George O’Hanlon of Natural Pigments regarding an alkyd medium that was no longer available, he developed a medium that shared some of the characteristics of this commercial alkyd painting medium, Classic Medium. The result was Oleogel, which consists mainly of linseed oil and fumed silica in a thixotropic gel. It is the most remarkable product that I have ever used. I think this is the best product of the hundreds of mediums I have made with oil, resins, balsams, and solvents.
Rublev Colours Oleogel: Thixotropic Oil Painting Medium
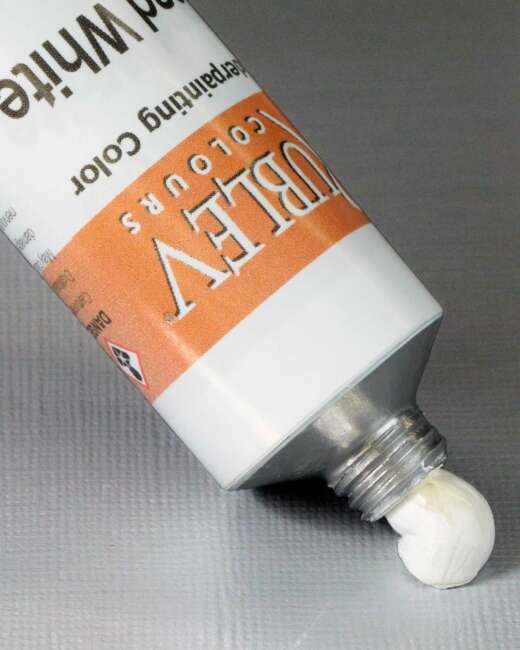
What is remarkable about Oleogel is its blending capacity. I add one-third volume of Oleogel to a nut of paint. It makes the paint immediately more translucent, which can be counteracted by loading more paint on the brush. It blends almost as easily with fingers as it does with brushes, unlike anything I have ever used. I use soft natural hair and hog bristle brushes for textural and dragged paint effects. I find that using a fast drying white such as Winsor & Newton Underpainting White for highlights and mass tone gives a little grab so that the light areas do not blend. If you mix this with some flesh color, you get an excellent highlight that stays put and does not fuse to contrast with the exquisitely blending Oleogel. Oleogel gives ultimate control of blending paint using Rubens’ technique. It is also quite fast to work this way. The underpainting for a 24 by 36 inch nude on the panel took about three hours, and the first layer of paint, except the face, required only seven hours. This puts it in the efficiency range of Rubens’ technique.
Rubens did go back and work on top of the first overpainting layer. He said, “there is always plenty to re-address.” I always need to go back over the initial overpainting layer with subsequent layers to achieve the effect I am looking for.
I am very excited about this new method of working. The combination of Rubens’ technique with the possibilities of this new medium, Oleogel, provides much excitement for me in producing future paintings. The areas that need the most attention are the shadow and reflected light. I am not yet confident about letting the underpainting show through the shadow group area. I always place thin veils over them. It takes a lot of courage to leave underpainting areas obvious without even a translucent veil over them. However, I am working toward that end. I am encouraged by the fact that these paintings were made four hundred years ago. During that time, some of the delicate veils have become more translucent over the years by the natural action of oils becoming more translucent. Cleanings may have removed some of the very thin translucent passages. Of course, the underpainting in water-borne paint does not become more translucent. This may account for some of the bold effects we see so plainly now.
Notes
1. Imprimatura (from Italian; “what goes before first”) is a semi-transparent or transparent color layer used to create a toned ground for a painting. It acts as harmonizing element for all upper color layers, allowing the imprimatura to show through in certain places. It also determines the composition’s overall tone (darkness or lightness).
2. A modello (from the Italian; plural, modelli) is a sketch for a painting (or other work of art, especially sculpture) made in the same, or similar, medium. Modelli were usually made to show patrons what the result would roughly look like and to help artists work out their ideas. They are not usually as detailed as a cartoon, which is intended to be copied accurately. Modelli were admired and collected by connoisseurs of 16th-century Italy. It is often hard to distinguish them from ricordi, which are reduced replicas of larger paintings also often executed with freedom of touch. A distinction may be made between a bozzetto—a roughly blocked-out preliminary sketch—and a modello, which is more finished.
3. Chalk traces have been found recently in his modelli, just as I imagined. He did not paint contours with just a brush as others have previously thought.