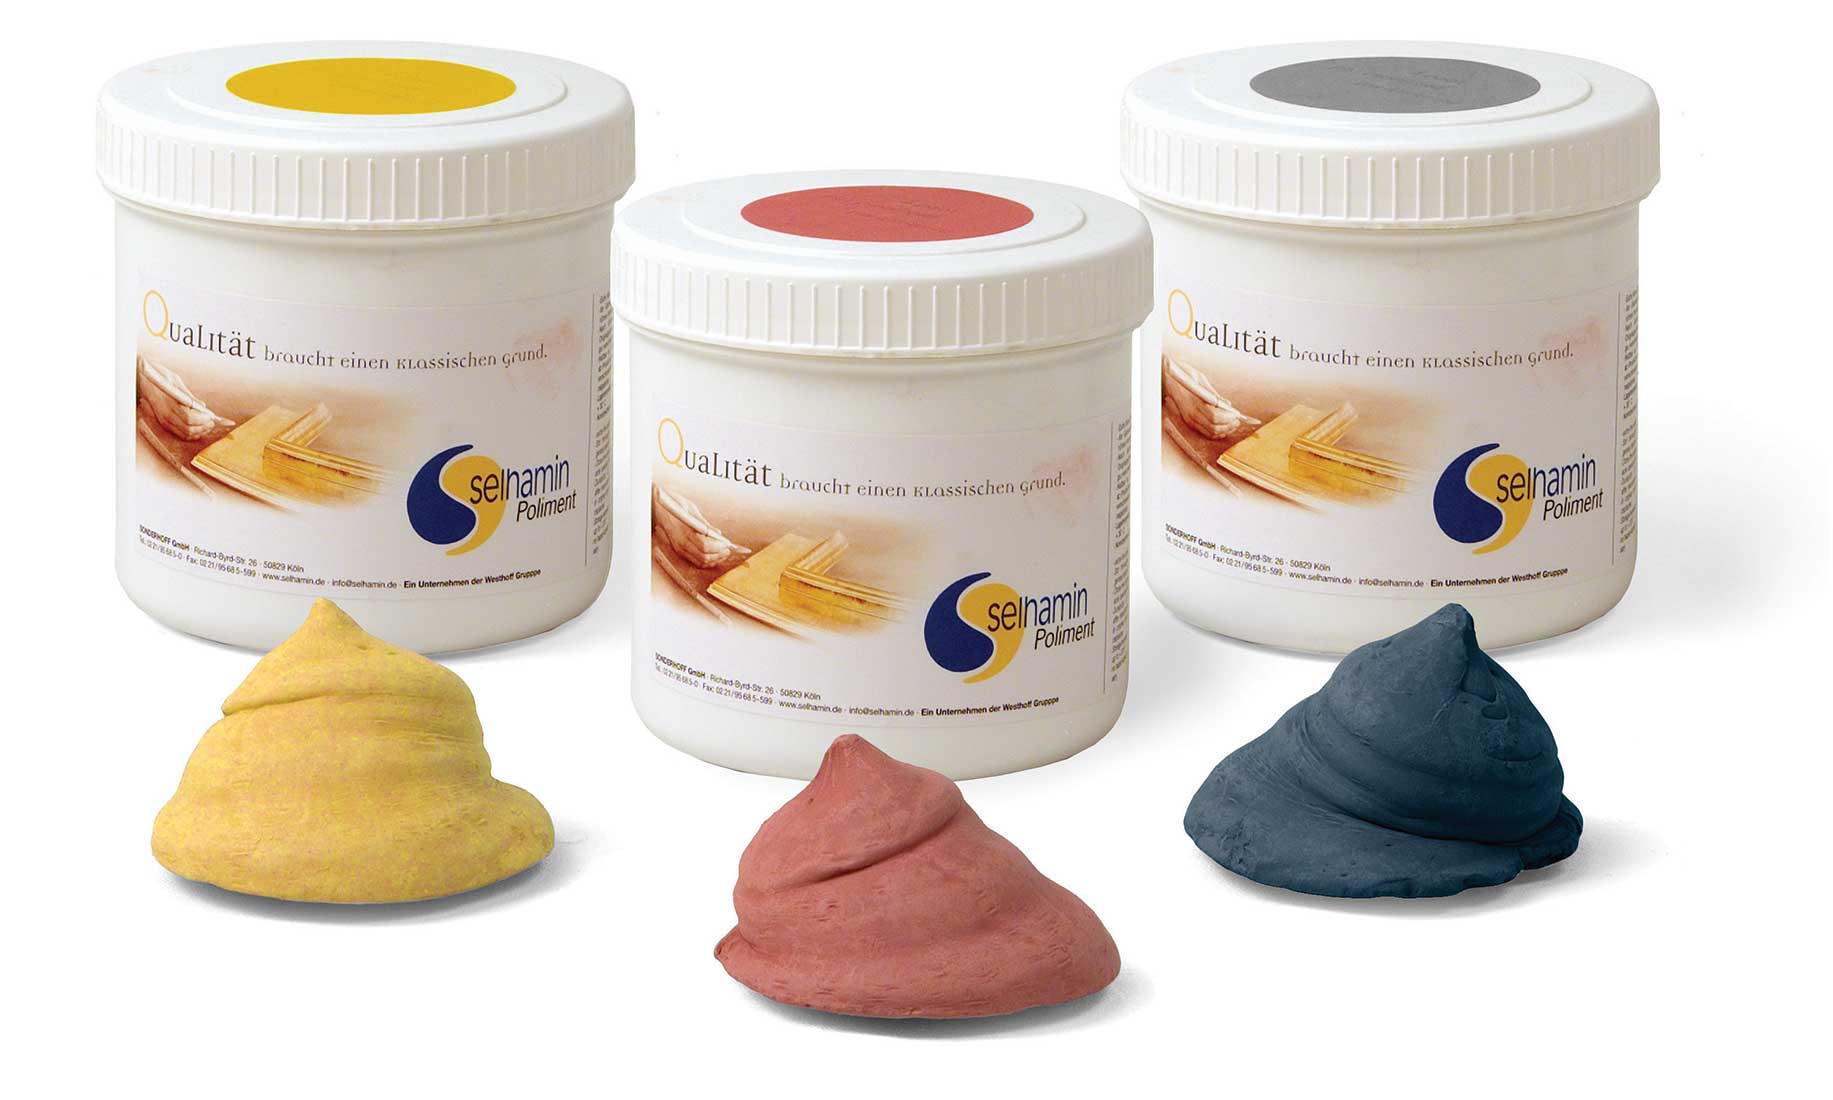

Polimeni—also known as bole—is a clay-like substance used as a gilding base. It is applied to a prepared surface, usually gesso or chalk ground. Gold or silver leaf is then applied over this base. The poliment enhances the tone and luster of the gold during the polishing/burnishing process. Selhamin Poliment is a specially prepared and refined bole for priming surfaces for gilding. The best raw materials are combined in the right proportions and processed according to traditional methods. Selhamin Poliment Clay shows its unique abilities in gilding with gold, white gold, silver, and platinum. Especially appreciated are its characteristics in applying silver and gold leaf on surfaces for contemporary and traditional techniques. The richness of color nuances that can be obtained is a delight for artists.
Preparing the Poliment or Gilding Clay
Tools Required
Animal collagen glue (in pellets), Selhamin poliment, poliment brush, wooden spoon (for stirring), sieve, water, water bath
Preparing the Poliment
Soak 80 grams of animal collagen glue (such as rabbit skin glue, hide glue, or technical gelatin) in one liter of cold water. Warm the solution in a water bath until the glue is completely dissolved. Place the pot containing the soaked mass into hot water (maximum 50° C or 122° F). The ideal implement for this purpose is an electrically-heated water bath with thermostatic temperature control.
Gradually add small amounts of the thin glue solution to the poliment and stir the two ingredients together. To prevent the formation of air bubbles, stir the glue into the poliment slowly and thoroughly. The resulting mass takes on a dough-like consistency and becomes more liquid as the glue is added. Add glue solution to the poliment until the mixture takes on the consistency of wall latex paint that can be smoothly applied with a brush. Ensure that the poliment is correctly bound with glue. This is the decisive factor on which the quality of the poliment gilding depends.
Applying the Poliment
Pass the poliment and glue mixture through a sieve and apply it rapidly to the sanded chalk or gesso surface with a brush. You can also filter the solution by forcing it through the fine-mesh material of an old pair of nylon stockings. Lumps and other impurities then remain inside the stocking. Apply at least two coats, but no more than four. Deeply recessed and difficult-to-reach sections of the gilding work (e.g., wood frames with filigree elements) are best treated with yellow poliment. This helps to ensure that any patches of surface that have not been gilded correctly with gold leaf are not so obvious and thus do not harm the general impression given.
Let each coat dry before applying the next one. When the final coat of poliment is completely dry, smooth it with a brush. The right moment can also be determined using the so-called “knock test.” Carefully tap the gilded surface with the polishing agate. If the tone produced is lighter than the dull one heard just after the application of the gold leaf, test a small area at the edge of the surface to determine whether the gilding is ready for burnishing. If it is, begin with the burnishing of the entire surface. It is challenging to burnish the gold correctly once the underlying surface is completely dry.
The poliment brush is used to smooth the poliment layer and polish its surface.
Brush the thoroughly dried surface of the poliment with a poliment brush before applying the gold leaf, ensuring that no part of the surface is left untouched. Apply firm pressure when doing so. This pressing action causes the base material to compress, giving the surface of the poliment a porcelain-like shine.
Applying the Gold Leaf
Tools Needed
Gilding pad, knife, brush (squirrel hair), wetting brush, wetting solution.
Preparing the Gilding Liquor or Wetting Solution
Mix ethyl alcohol (1 part by volume) and distilled water (2 parts by volume).
Use a wetting brush to apply the solution to the surface of the poliment.
Applying the Gold Leaf
Spread the pieces of gold leaf across the gilding pad, cut to size, pick up with the gilding brush, and place onto the wetted surface of the gilded object. The gold leaf should overlap by about 2–3mm. Gently blow the gold leaf into place, taking care to prevent the formation of air bubbles under the surface.
Burnishing the Gilded Surface
Tools Needed
Polishing agate of the right type and grade (The most versatile tool recommended for novices is a small tooth-shaped polishing agate.), acetone, linen rags
Burnishing
Before burnishing occurs, the base should bear only moist traces of the wetting solution (see the explanation above of the “knock test”). Once this stage has been reached (after about one hour, in normal climatic conditions), burnish the entire gilded surface with a burnishing agate using slight pressure. Ensure that no part of the surface is left untreated. Burnish the gilded surface until it is highly polished.
Tone and Patina
A highly-polished gilded surface is sometimes considered to be a little gaudy. This is why the surface is treated to tone down its shininess and give it a characteristic patina. The toning process involves applying to the gilded surface clear or colored coatings (see “Varnishing”). In contrast, the patina process refers to the artificial aging of the gilded surface by chemical or mechanical means (see “Creating a Patina”) to give it an “antique” look.
Varnishing
Always protect silvered or white-gold gilded surfaces with a coat of clear varnish (nitrocellulose lacquer or shellac varnish). This will prevent the surface from harm caused by contaminants in the atmosphere, such as the sulfuric acid produced by the hydrogen sulfide in the air. Apply the coating quickly, using a poliment brush reserved for this purpose. Clear varnish is easier to apply if diluted with 5–10% butyl acetate.
Staining
Walnut stain (which can be prepared by dissolving Cassel or Van Dyke brown in soda ash and water) can be obtained in granular form from Natural Pigments. Dissolve the stain in hot water. The depth of tone required determines the strength of the solution. The technique uses a basic stain solution, which can then be altered by adding different stains, inks, and pigments to achieve alternative varieties of depth and tone.
Creating a Patina
Wrap a rag soaked in white spirit around your index finger. Dip it in superfine ground pumice and allow a little of it to adhere. Gently and carefully rub the entire gilded and burnished surface of the object. The thickness of the gold leaf will be fractionally reduced, allowing the poliment base to shine through. The joins will also become visible. These are the regularly-recurring points on the surface where the strips of gold leaf overlap slightly to create an optically pleasing effect.
Numerous substances and processes are available to apply the toning and patina techniques. The toning and patina procedures can be carried out simultaneously using what is known as the “make-up” technique:
Tools Required
Water, walnut stain (see “Staining”), powdered wood stain, coloring tints, watercolors, ammonia solution (15%), wax-free platinum or blonde shellac (dissolved in ethyl alcohol), a small paintbrush with soft bristles, short-bristle brush, dabbing brush, steel wool (0000), poster paint, acrylic paint, natural sponge, paper towels, cleaning wool.
Preparing the “Make-Up”
Dissolve the contents of one bag of wood stain in four parts of hot water. Add about ten drops each of ammonia solution and shellac to the cooled staining solution. Thoroughly stir all the ingredients together.
Applying the “Make-Up”
Using a soft paintbrush or natural sponge, carefully apply the “make-up” to the gilded surface, allow it to stand briefly, and then dab it gently with cleaning wool or absorbent paper to soak up any surplus solution. Do not remove the solution altogether. Use a short bristle or dabbing brush to gently work the “make-up” into the surface. When the toned/patina-treated surface is dry, carefully smooth it down with extra-fine steel wool (0000).
Shop for Selhamin Poliment (Gilding Clay)


